Time for Week 2 of the One Four Photo Challenge, the February edition!
The challenge, which is hosted on Robyn’s blog, Captivate Me, is to take one photo and edit it four different ways over the month.
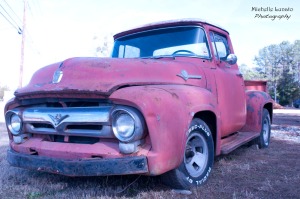
For this month, I am editing a photograph of an old truck. This is the original raw photo with no edits.
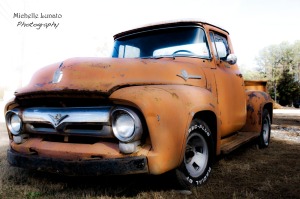
Last week, I played with the colors of the truck and came up with this edit.
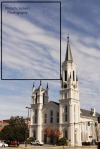
After getting some tips and suggestions from some great photo bloggers, I tried to add in a sky to fill the bright white space. To do this, I had to find a photo of a sky that would match the mood of my photo. The one I chose to use was from this photograph of a church I took recently. The portion of the sky I used is within the black box. (The suggestion on making the tires look dirty, is something that is going to require some more thinking…or another visit by the truck with a bucket of mud. What? That doesn’t count?)
To do this in Photoshop CS5, I took the following steps:
- Using the rectangular marquee tool, I created a rectangle on the area of sky that I wanted to use.
- Using the arrow tool, I clicked on the highlighted section I just made with the marquee tool.
- I pulled the sky section of the church photograph to my truck photograph and reshaped it to fit, positioning it along the way. (I had to reduce the opacity during the positioning so I can see through it some. That way I could see how the clouds looked above the truck.)
- Once the sky was in place, I erased out the sky layer that was over the truck. This way, only the truck was showing in those areas.
- Raised the opacity of the sky layer back to 100 percent.
To get the bright red truck, I had already taken the following steps while I had the truck photo open in camera raw:
- Adjusted the temperature to 5500.
- Raised the exposure by .10.
- Raised the blacks by 37.
- Increased the brightness by 14.
- Increased the contrast by 41.
- Lowered the clarity by 41.
- Pushed up the vibrance by 38.
- Raised the saturation to 18.
- Adjusted the curves.
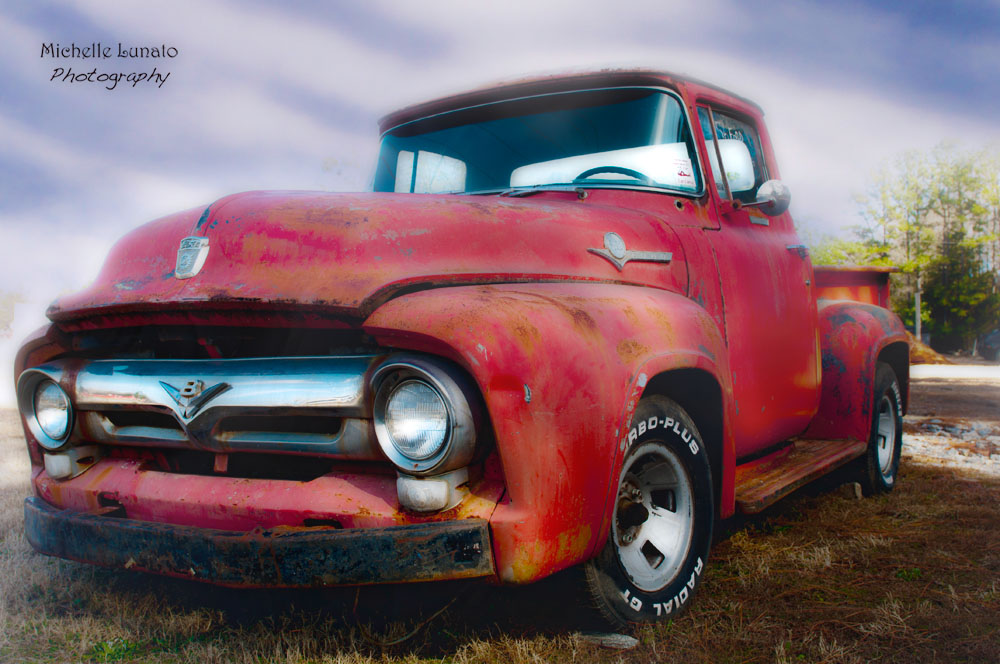
With those two layers pretty much how I wanted them, I merged them into one layer. I opened the HDR effect on the photo and lowered the details and raised the strength. This gave the photo a softer, more blended appearance, and this is the end result.
So, what do you think? Does the sky blend in well? I wasn’t sure if it was too bright, but since the truck was kind of bold, I went with it. Next week, I can try a different sky. Maybe something more dark and gloomy?
If you are new to the challenge, search the tag ‘One Four Challenge’ to see other bloggers’ posts, but make sure you check out the host blog, Captivate Me. Robyn’s post this week can be found by clicking on the badge below.
I like this version…great colour
LikeLiked by 1 person
Great to hear-thanks!
LikeLiked by 1 person
It really works, the truck has this surreal glow. Great job adding the sky.
LikeLiked by 1 person
I was wondering if it was a bit too much. So, it’s nice to know that it works. You know once you start second guessing yourself…
LikeLiked by 1 person
This works so well. For me it’s very appealing. I love the sky, the softness and the change of colour. It’s great!!
LikeLiked by 1 person
Great to hear Robyn! Thanks for the feedback?
LikeLiked by 1 person
Its a pleasure Michelle. 😃😃
LikeLiked by 1 person
I just realized I put a question on my statement. Fat finger iPhone typing. Oops. No question in thank you, lol.
LikeLike
Like the addition of the sky with interesting angles in the sky. The truck has a softer, glowing look too!.
LikeLiked by 1 person
Thanks. It was fun to create!
LikeLike
The sky blends quite nicely. I think it is great you got the sky in place and then added filters because it kind of seals the image. Very good.
LikeLiked by 1 person
Thanks Ben!
LikeLike
Works for me. Well done 🙂
LikeLiked by 1 person
Nice edit! Like the sky!
LikeLiked by 1 person
Thanks:)
LikeLike